HEIC to JPG Conversion Guide
HEIC (High Efficiency Image File Format) is a highly efficient image file format developed by the MPEG organization to improve image compression rates and reduce file sizes. However, not all devices and software support the HEIC format. Fortunately, converting HEIC files to the more common JPG format using your phone is a simple process. Here are the detailed steps:
1. Preparation
- Smartphone: Ensure your phone is an iOS device, as the HEIC format is primarily used on iOS devices.
- HEIC File: Make sure you have the HEIC file you want to convert.
2. Using Built-in Features to Convert
Step 1: Open the HEIC File
Open the "Photos" app on your iOS device. Find and open the HEIC file you want to convert.
Step 2: Edit and Save
Tap the "Edit" button in the upper right corner of the screen. Make any necessary edits (this step is optional, but you can adjust the image here if you want). After editing, tap the "Done" button in the upper right corner of the screen.
Step 3: Save as JPG Format
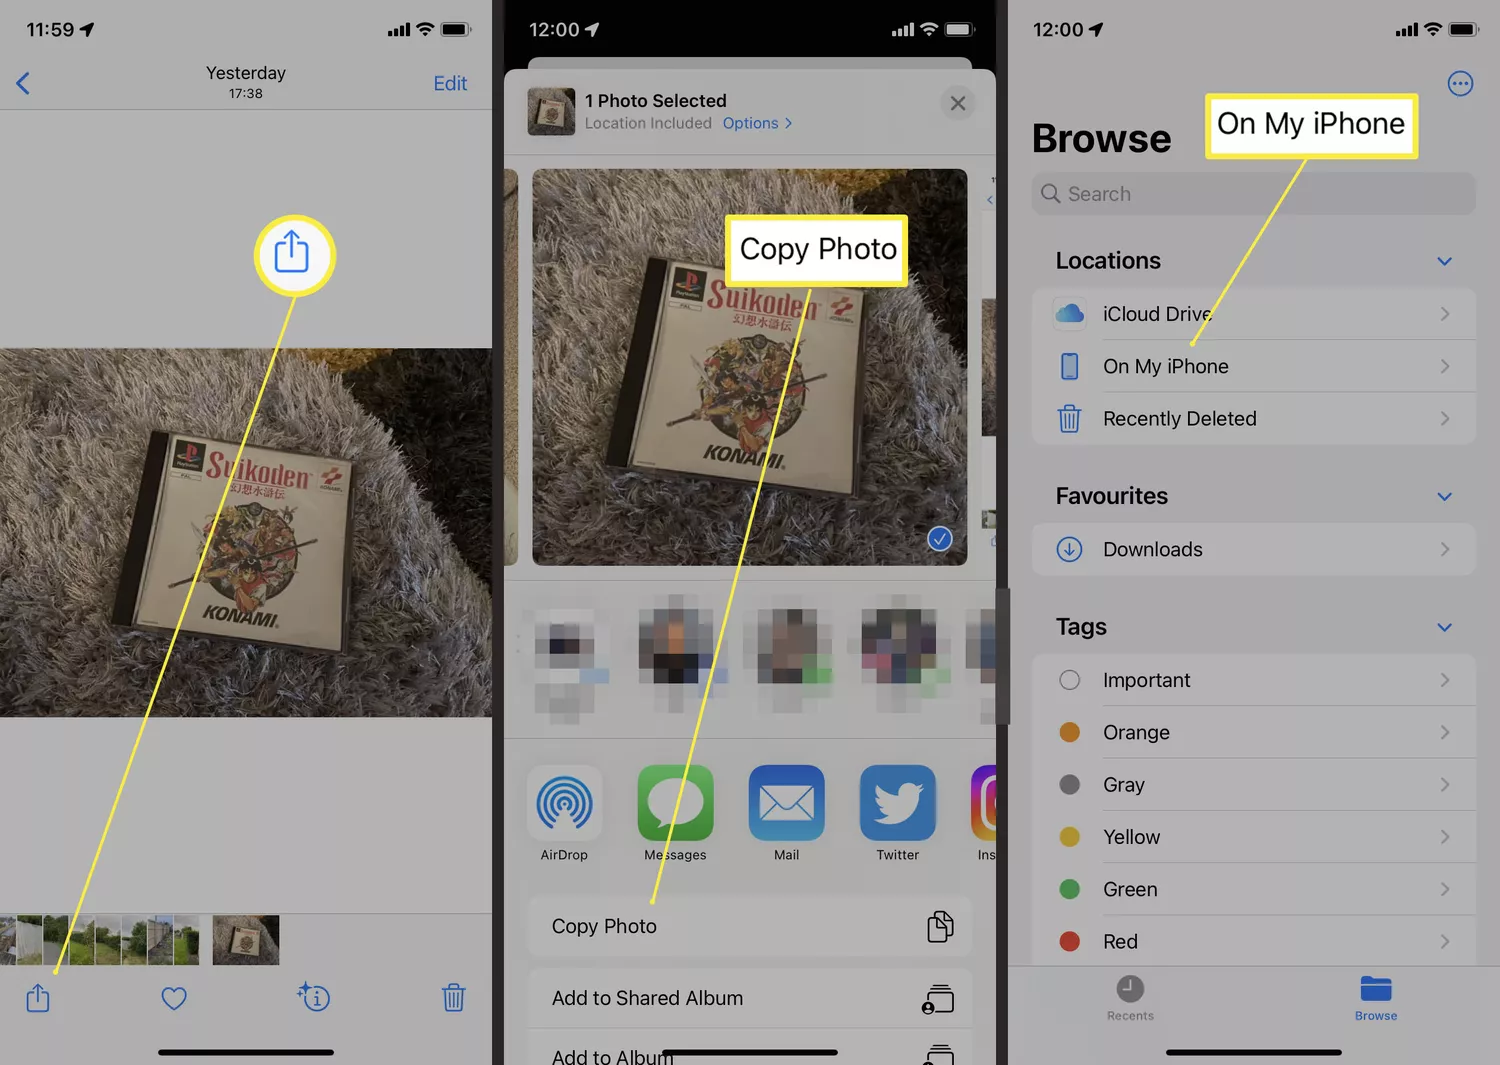
Tap the share button (an upward arrow) in the lower left corner of the screen. Scroll and select the "Save to Files" or "Save Image" option. Choose the save location, then tap "Add" or "Save." In the save options, select "JPG" as the file format. Confirm the save, and your HEIC file is now converted to JPG format.

Why Choose HeicTools?
- Free and unlimited conversions
- No registration required
- Privacy focused - files are processed locally
- Supports batch conversion
- High quality output
Supported Formats
We support conversion from HEIC to multiple formats:
- JPG - Best for sharing photos online
- PNG - Perfect for images requiring transparency
- PDF - Ideal for document creation
- JPEG - Standard format for high quality images